Applying for a Schengan Visa from Indonesia without an Agent


Applying for a Schengan Visa is quiet a time consuming process. There is a lot of preparation required before even thinking about filling out your application form and booking in your appointment. When I was in Australia, once I had all of my documents ready to go, I then simply booked in my appointment and took my documents to my local Greek Consulate, 1 week later I would have my Schengan Visa secured to my passport. Of course getting that initial appointment was a painstaking experience, but that’s another story!
So once I had moved to Bali, I assumed the process would be the same or at least similar. It turns out, applying from Indonesia requires a lot more documentation, additional fees for flights and accomodation, 3rd party fees to attend your appointment, and so much more of your time.
Here I will break down the entire process of what I had to do to get my visa from Bali, so you can avoid the frustration and confusion I went through.
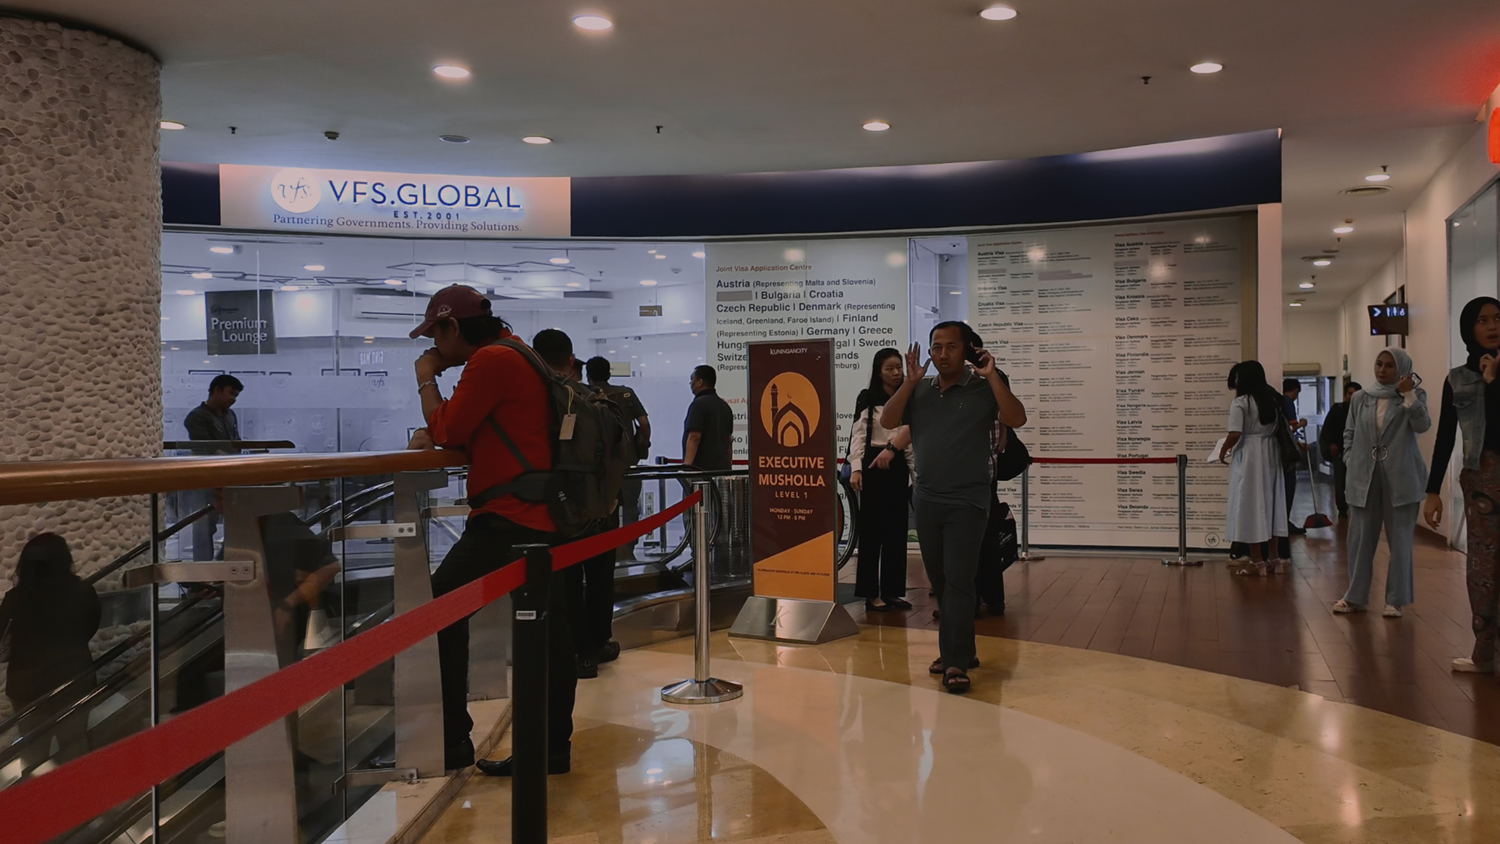
You will need to check the website of the country of your first point of entry into the Schengan area. For me, I was flying into Greece so I checked the Greek embassy website which took me to a third party company (which turned out to be the VFS website masked as a greek website). You can apply online from there by signing up to the website and filling in the online form.
Once you have filled out the form, submit the form and make sure at the top of the form there is a barcode. If your pdf doesn’t have a barcode, it means you have not submitted your form in properly.
https://id-gr.gvcworld.eu/en
Once you have finished filling in your online form, you can then book your appointment from that same website. There were plenty of dates available to apply for my visa, however I have heard that sometimes it can be hard to get an appointment, depending on which country you’re flying into. So try and get in early.

Funnily enough this flight and accommodation was not to fly to Europe, but to fly to Jakarta, as this is the only place you can apply for your Schengan Visa in Indonesia. So if you already living in Jakarta, you can skip this step. However, I needed to book flights and accommodation from Bali to Jakarta to process my visa.
So once I had my appointment booked, I booked a one way ticket to Jakarta as I wasn’t sure how long the process would take, and didn’t want to risk losing a ticket if it took longer than expected.

When you attend your appointment, you need to have all of your documents printed, including your appointment booking email. See step one for all other documents you need to bring with you. At the VFS Visa Centre, they have photocopying and printing services there however it is more expensive, so try and have all of your documentation printed before arriving at the Visa Centre. They also offer passport photo services, so if the passport photo you bring in is rejected, you can get your photo taken there on the spot.
Once they have checked all of the documents and all is ok, they will then take your biometric data, which is your finger prints and another photo of you.

Once all of that is done, you can wait in Jakarta for a minimum of 14 business days and collect your passport when it’s ready, or you can organise to have your passport posted to you. I decided to have my passport sent to me because I didn’t want to stay in Jakarta for my passport just in case it took months.
So I booked my flight back to Bali, and waiting from home.
After about 14 business days, my passport arrived in the mail with my visa attached inside. Ready for me to fly to Greece!
There is a tracking service on the website, however it isn’t 100% accurate, so you really need to have patience!
The total cost of applying for your visa from Indonesia will vary depending on where you live. It will be much cheaper if you live in Jakarta as you avoid additional travel and accommodation fees. Here is a breakdown of the total cost for my Schengan Visa.
Standard Fees
Cost
Schengan Visa Fee
Rp 1.602.000
VFS Visa Service Fee
Rp 534.000
Additional Unexpected Fees
Cost
Passport Postage – Jakarta to Bali
Rp 330.000
Prime Time Fee (Appointment after 1pm)
Rp 360.000
Retaking Passport Photo
Rp 45.000
Additional Document Printing
Rp 75.000
Storage Fee
Rp 35.000
Travel Fees
Cost
Ticket to Jakarta + Return to Bali
Rp 2.153.900
Accommodation (Stayed with a friend)
Rp 0
Total Cost
RP 5.134.900
The above is for the Schengan Entry Visa in 2024. It doesn’t include Tickets and Accommodation to/in Europe, Travel Insurance and any other travel related fees.
I go into full detail of my entire process of applying for my Schengan Visa on my YouTube channel. Where you can see what all of the additional fees were for and how you can avoid them

Indonesian-born, Aussie-raised, and deeply connected to my roots. From childhood curiosity to cultural events, my passion for dance ignited at the age of 10 when my parents introduced me to traditional Indonesian dance classes at the consulate, marking the start of an exciting journey into my heritage through the art of dance.
